Joystick: Twist messages
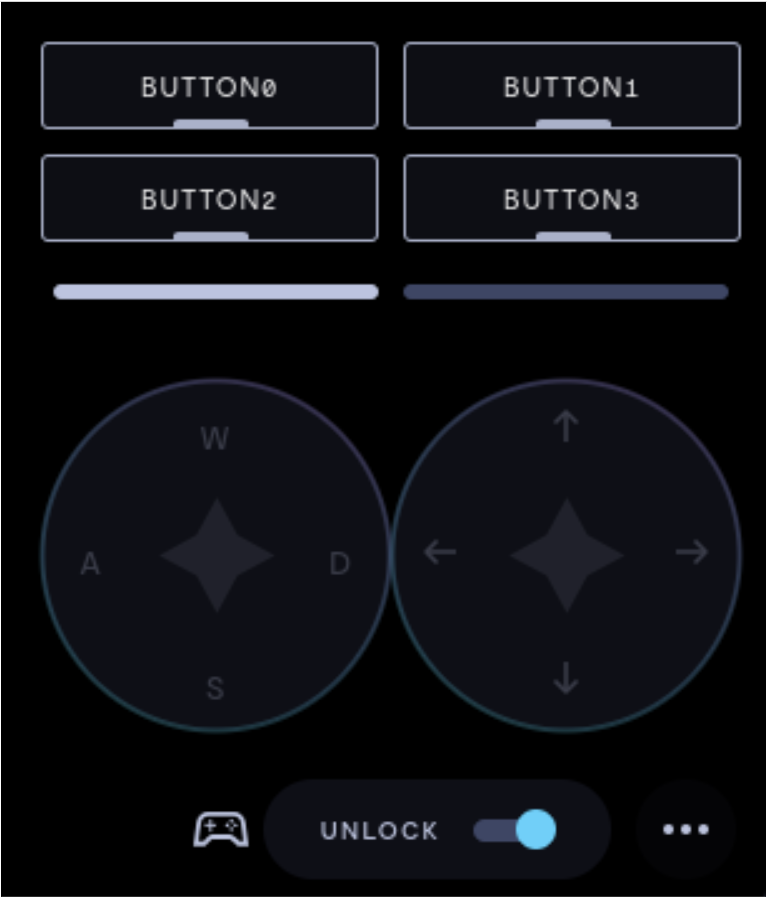
You can use either a physical controller (gamepad), the keyboard, or virtual joysticks to remotely control your device.
This guide will teach you how to configure your teleoperation interface to use a joystick for control.
This page refers to
Twistmessage types. If you need to use aJoymessage type, reach out to our Customer Success team via the Intercom messenger in the bottom-right corner of this page, or at [email protected].
Prerequisites (optional)
Test gamepad
If you are using a gamepad, first test its compatibility and button mapping using the following tool: Hardware Tester: Gamepad Tester.
Make a note of the button mapping. The gamepad Button 0 will correspond to your teleoperation interface Button 0, etc.

Gamepad button mapping.
Create buttons
If you want the buttons on your gamepad to operate virtual buttons on your teleoperation interface, you'll have to create virtual buttons first. For more information, see Add buttons to your teleoperation interface.
Step 1: Navigate to device teleoperation settings
- In Formant, in the upper-left corner, open the menu and click Settings.
- Click Devices, and then click on the device you want to configure.
- Click on the Teleoperation tab to open the teleoperation configuration page.
Step 2: Add a joystick stream
ROS
Formant will send joystick coordinate data as a geometry_msgs/Twist stream.
- In the teleoperation configuration page, scroll down to Joystick and click the plus (+) icon.
- Click Add ROS Topic.
- Enter the ROS topic to which you want to post joystick coordinate data.
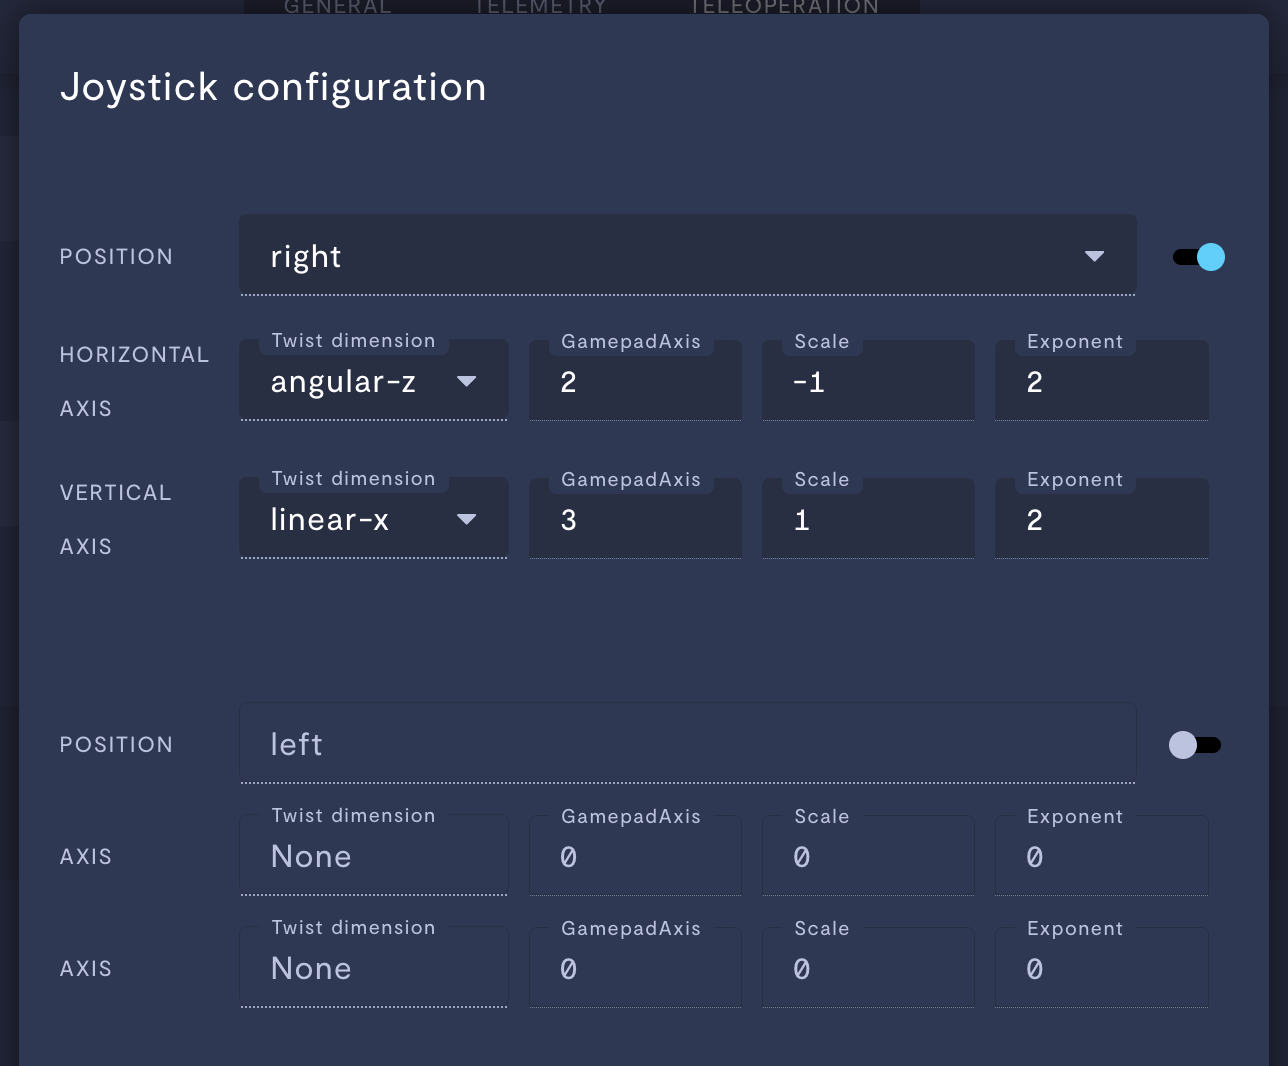
- Click Done to bring up the Joystick configuration screen.
API
You can also handle joystick input through the Agent SDK.
- In the teleoperation configuration page, scroll down to Joystick and click the plus (+) icon.
- Click Add from API.
- Enter the name of the function which handles joystick input. For an example of how to handle joystick input in the Agent SDK, see GitHub:
teleop.py. - Click Done to bring up the Joystick configuration screen.
For a complete reference for the Agent SDK, see Agent SDK Reference.
Step 3: Configure joystick settings
You can configure up to four axes across two joysticks. Each axis is mapped to a particular axis in a standard Twist message. A Twist message has linear x,y,z axes, and angular x,y,z axes.

| Property | Usage |
|---|---|
| Enable toggle | Toggle the right or left joystick on or off. The right joystick maps to the arrow keys on your keyboard, and the left joystick maps to the WASD keys. |
| Twist Dimension | Select the twist dimension to which this axis maps. |
| Gamepad Axis | If using a gamepad, map the gamepad axis to the joystick axis. |
| Scale | Set the value the twist command should report when this axis is at 100%. |
| Exponent | Set the exponential curve by which intermediate twist values (i.e., between 0 and max, or scale,) are calculated. |
Step 4: Configure global settings
At the bottom of the Joystick configuration window, you'll see a list of global settings for both joysticks:

| Property | Usage |
|---|---|
| Disable Gamepad Trigger Axis Mapping | When set to Enabled, trigger buttons on your gamepad will be disabled. Gamepad triggers map to Buttons 6 and 7 in the teleoperation interface. If you have more than six buttons on your teleoperation interface, Enable this setting. If you do not Enable this setting, using the trigger will simultaneously send axis data and push a button. |
| Disable Gamepad Input and Keyboard Input | When set to Enabled, joysticks will be controllable only by mouse input in the teleoperation interface. All keyboard and gamepad input will be ignored. |
| Reduce Joystick Filter Timeout | When set to Disabled, twist messages will publish at 10 Hz for new values, and at 2 Hz for repeated values (i.e., holding down "forward"). When set to Enabled, twist messages will publish at 20 Hz for new values, and 10 Hz for repeated values. |
Step 5: Preview your joystick output
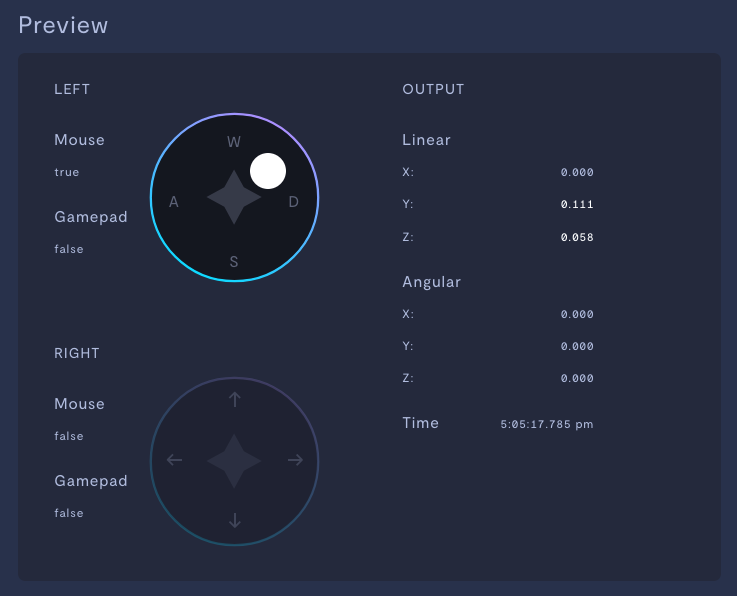
You can use the Preview window to generate sample joystick data based on mouse, gamepad, or keypad input. Sample data will be shown in the Output section.

Step 6: Verify your work in teleoperation mode
- In your device view, in the upper-right corner, click the three dots >> Teleop, or enter Shift + T.
- Verify that your joystick input is working properly.
If you notice an issue with this page or need help, please reach out to us! Use the 'Did this page help you?' buttons below, or get in contact with our Customer Success team via the Intercom messenger in the bottom-right corner of this page, or at [email protected].
Updated 3 months ago
