
Create a custom role
In addition to the default roles of Viewer, Operator, and Administrator, you can create custom roles with the permissions and access levels you want. Roles can then be quickly assigned to many users via the use of teams.
It is highly recommended to start with the settings of a default role and modify its permissions, rather than constructing an entirely new role from scratch.
Setting a resource to None may result in error messages that a user does not have access to a particular resource. Required resources may not be immediately obvious; e.g., when administering events, you will also need administration privileges for commands, as an event can be configured to issue a command. After adding your custom configuration, try the expected workflows for your end user and make sure your permissions are set correctly.
This guide will teach you how to create and configure a custom role for your organization.
Default role permissions
| Default role | Permissions set |
|---|---|
| Viewer | All permissions set to View.
|
| Operator | All permissions set to Execute. All permissions without an Execute option set to View.
|
| Administrator | All permissions set to Administer.
|
Step 1: Create a custom role
- In Formant, in the upper-left corner, open the menu and click Settings.
- Click Roles, and then in the upper-right corner, click Create Role.
- Give your new role a name and click Continue.
Step 2: Configure your role
Next, configure your role's permissions:
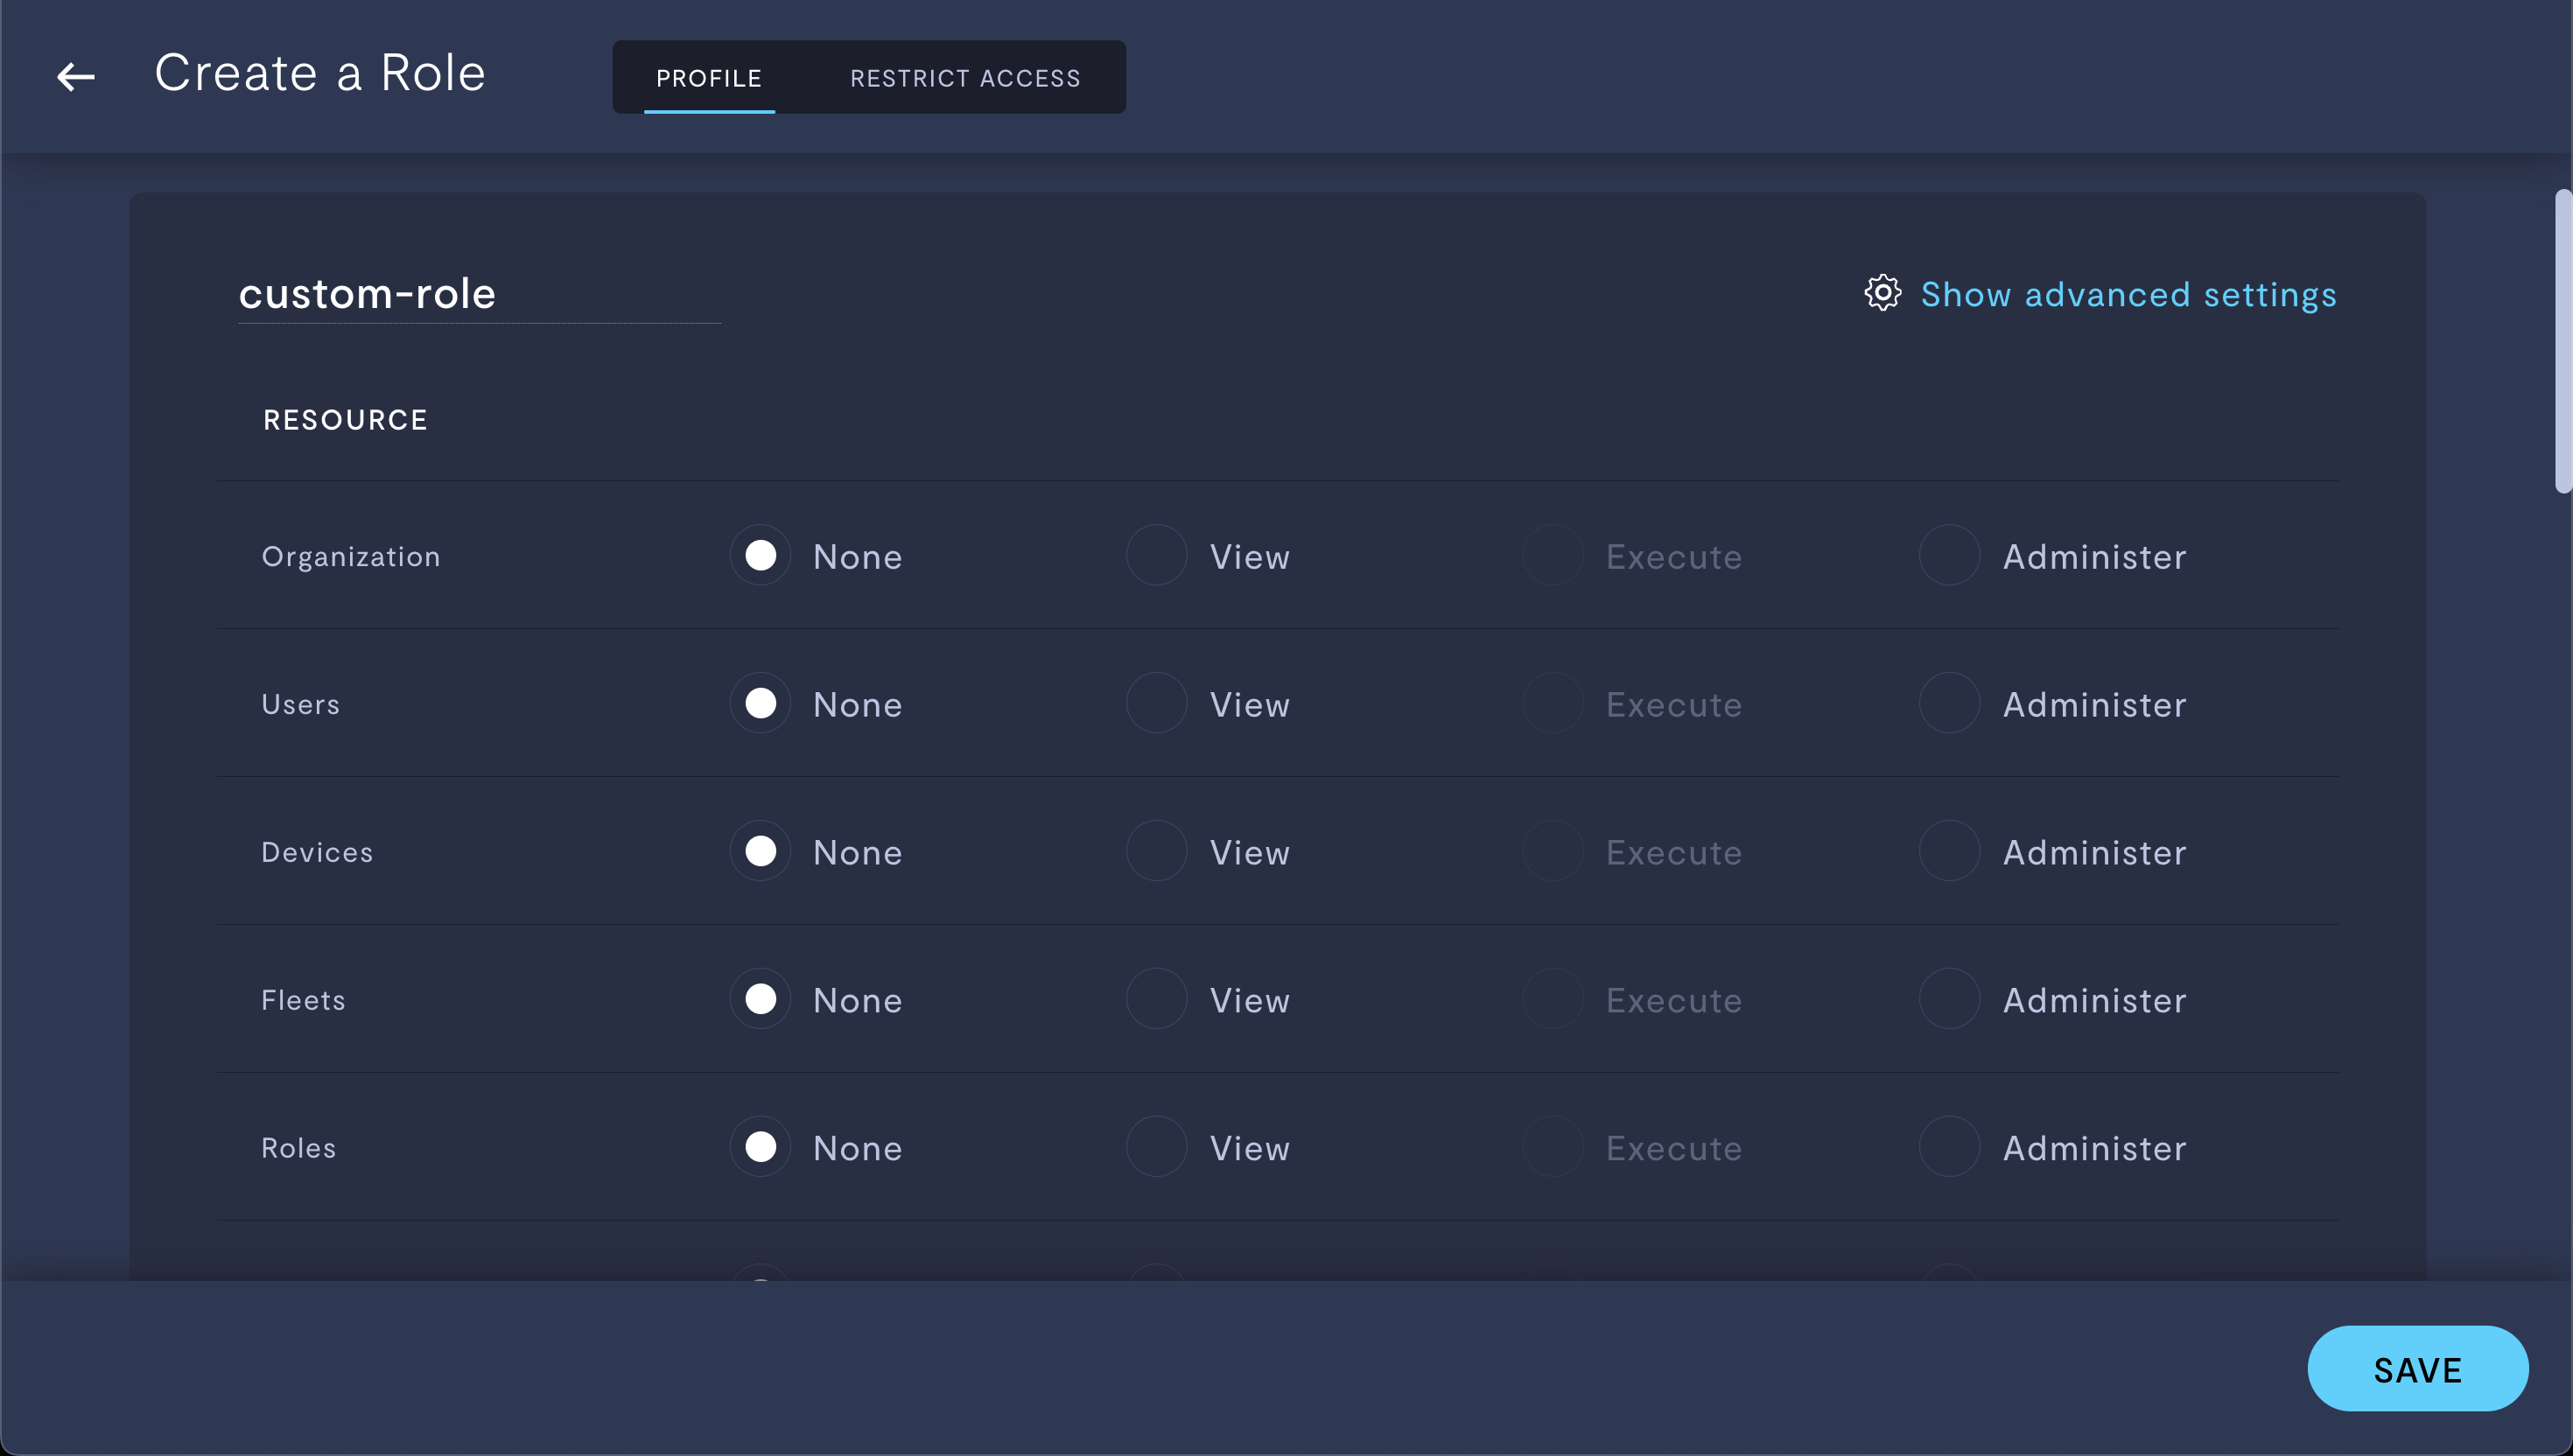
Configuring a custom role.
The following table defines the role's permissions for each permission level.
See the note for Organization and Kiosk.
| Resource | None | View | Execute | Administer |
|---|---|---|---|---|
| Organization | No access to this resource. This should almost always be set to at least View. A user with no access to the Organization resource will not be able to interact with your Formant organization. | View | N/A |
|
| Users | No access to this resource. | View | N/A |
|
| Devices | No access to this resource. | View | N/A |
|
| Fleets | No access to this resource. | View | N/A |
|
| Roles | No access to this resource. | View | N/A |
|
| Streams | No access to this resource. | View | N/A |
|
| Views | No access to this resource. | View | N/A |
|
| Channels | No access to this resource. | View | N/A |
|
| Comments | No access to this resource. | View |
|
|
| Teleop | No access to this resource. | N/A |
|
|
| Terminal | No access to this resource. | N/A | Operate device terminal | Enable/disable terminal access |
| Port Forwarding | No access to this resource. | N/A | Start port forwarding session | Enable/disable port forwarding |
| Events | No access to this resource. | View |
|
|
| Commands | No access to this resource. | View |
|
|
| Annotations | No access to this resource. | View |
|
|
| Capture | No access to this resource. | N/A |
|
|
| Share | No access to this resource. | N/A |
|
|
| File Storage | No access to this resource. | N/A |
|
|
| Integrations | No access to this resource. | View |
|
|
| Interventions | No access to this resource. | View | N/A |
|
| Key Value Storage | No access to this resource. | View |
|
|
| Schedules | No access to this resource. | View | N/A |
|
| Kiosk | No access to this resource. This should almost always be set to None. Kiosk mode restricts a user's visibility to a single view. For help setting up Kiosk mode, reach out to our Customer Success team. | Forces the user into kiosk mode. | N/A | Allows the user to administer kiosk mode. |
| Task Summaries | No access to this resource. | N/A |
|
When you have your desired set of permissions, continue to Step 3.
Step 3: Configure access levels
You can restrict the entities to which this role, and therefore any user with this role, has access. To do so, click the Restrict Access tab. Assign a set of tags which restricts this role's access to your desired level.
For more information, see Configure access levels.
A role with no tags associated will have unrestricted access to resources within your organization to which it has View access. The permissions will still be set by what you configured in Step 2.
If you notice an issue with this page or need help, please reach out to us! Use the 'Did this page help you?' buttons below, or get in contact with our Customer Success team via the Intercom messenger in the bottom-right corner of this page, or at [email protected].