
Build a teleoperation interface
This guide will teach you how to build a teleoperation interface in Formant.
Prerequisite: Set up real-time connections
Modules in a teleoperation view are powered by real-time connections with your device. You must set them up first before you can see data on your teleoperation interface.
For more information, see Set up real-time connections .
Step 1: Create a teleoperation view
- Go to https://teleop.formant.io .
- Log in with your Formant credentials.
- Select the device for which you want to create a teleoperation interface.
- In the view header, click the plus (+) button to create a new view.
At this point, you'll see the following options:

The teleoperation view header.
| Element | Description | |
|---|---|---|
| 1 | Current device indicator | Indicates current device. |
| 2 | View selector | Select current view. |
| 3 | Create view button | Create new view. |
| 4 | Save view button | Save changes to current view. |
| 5 | Duplicate view button | Create new view identical to current view. |
| 6 | Rename view button | Rename current view. |
| 7 | Delete view button | Delete current view. |
| 8 | View shortcut to Formant application button | If Enabled (eye is visible): In the Formant web application ( If Disabled (eye is crossed out): This view will not appear as a shortcut for this device in the Formant web application. |
| 9 | Device information button | List of real-time connections configured for this device. |
| 10 | Edit/Operate mode button | Switch between edit mode to design your view and operate mode for teleoperation. |
| 11 | Device settings menu | Switch devices or log out of the teleoperation application. |
Step 2: Design your teleoperation interface
To edit your new teleoperation view, click Switch to Edit mode. This will bring up the edit grid and module picker:
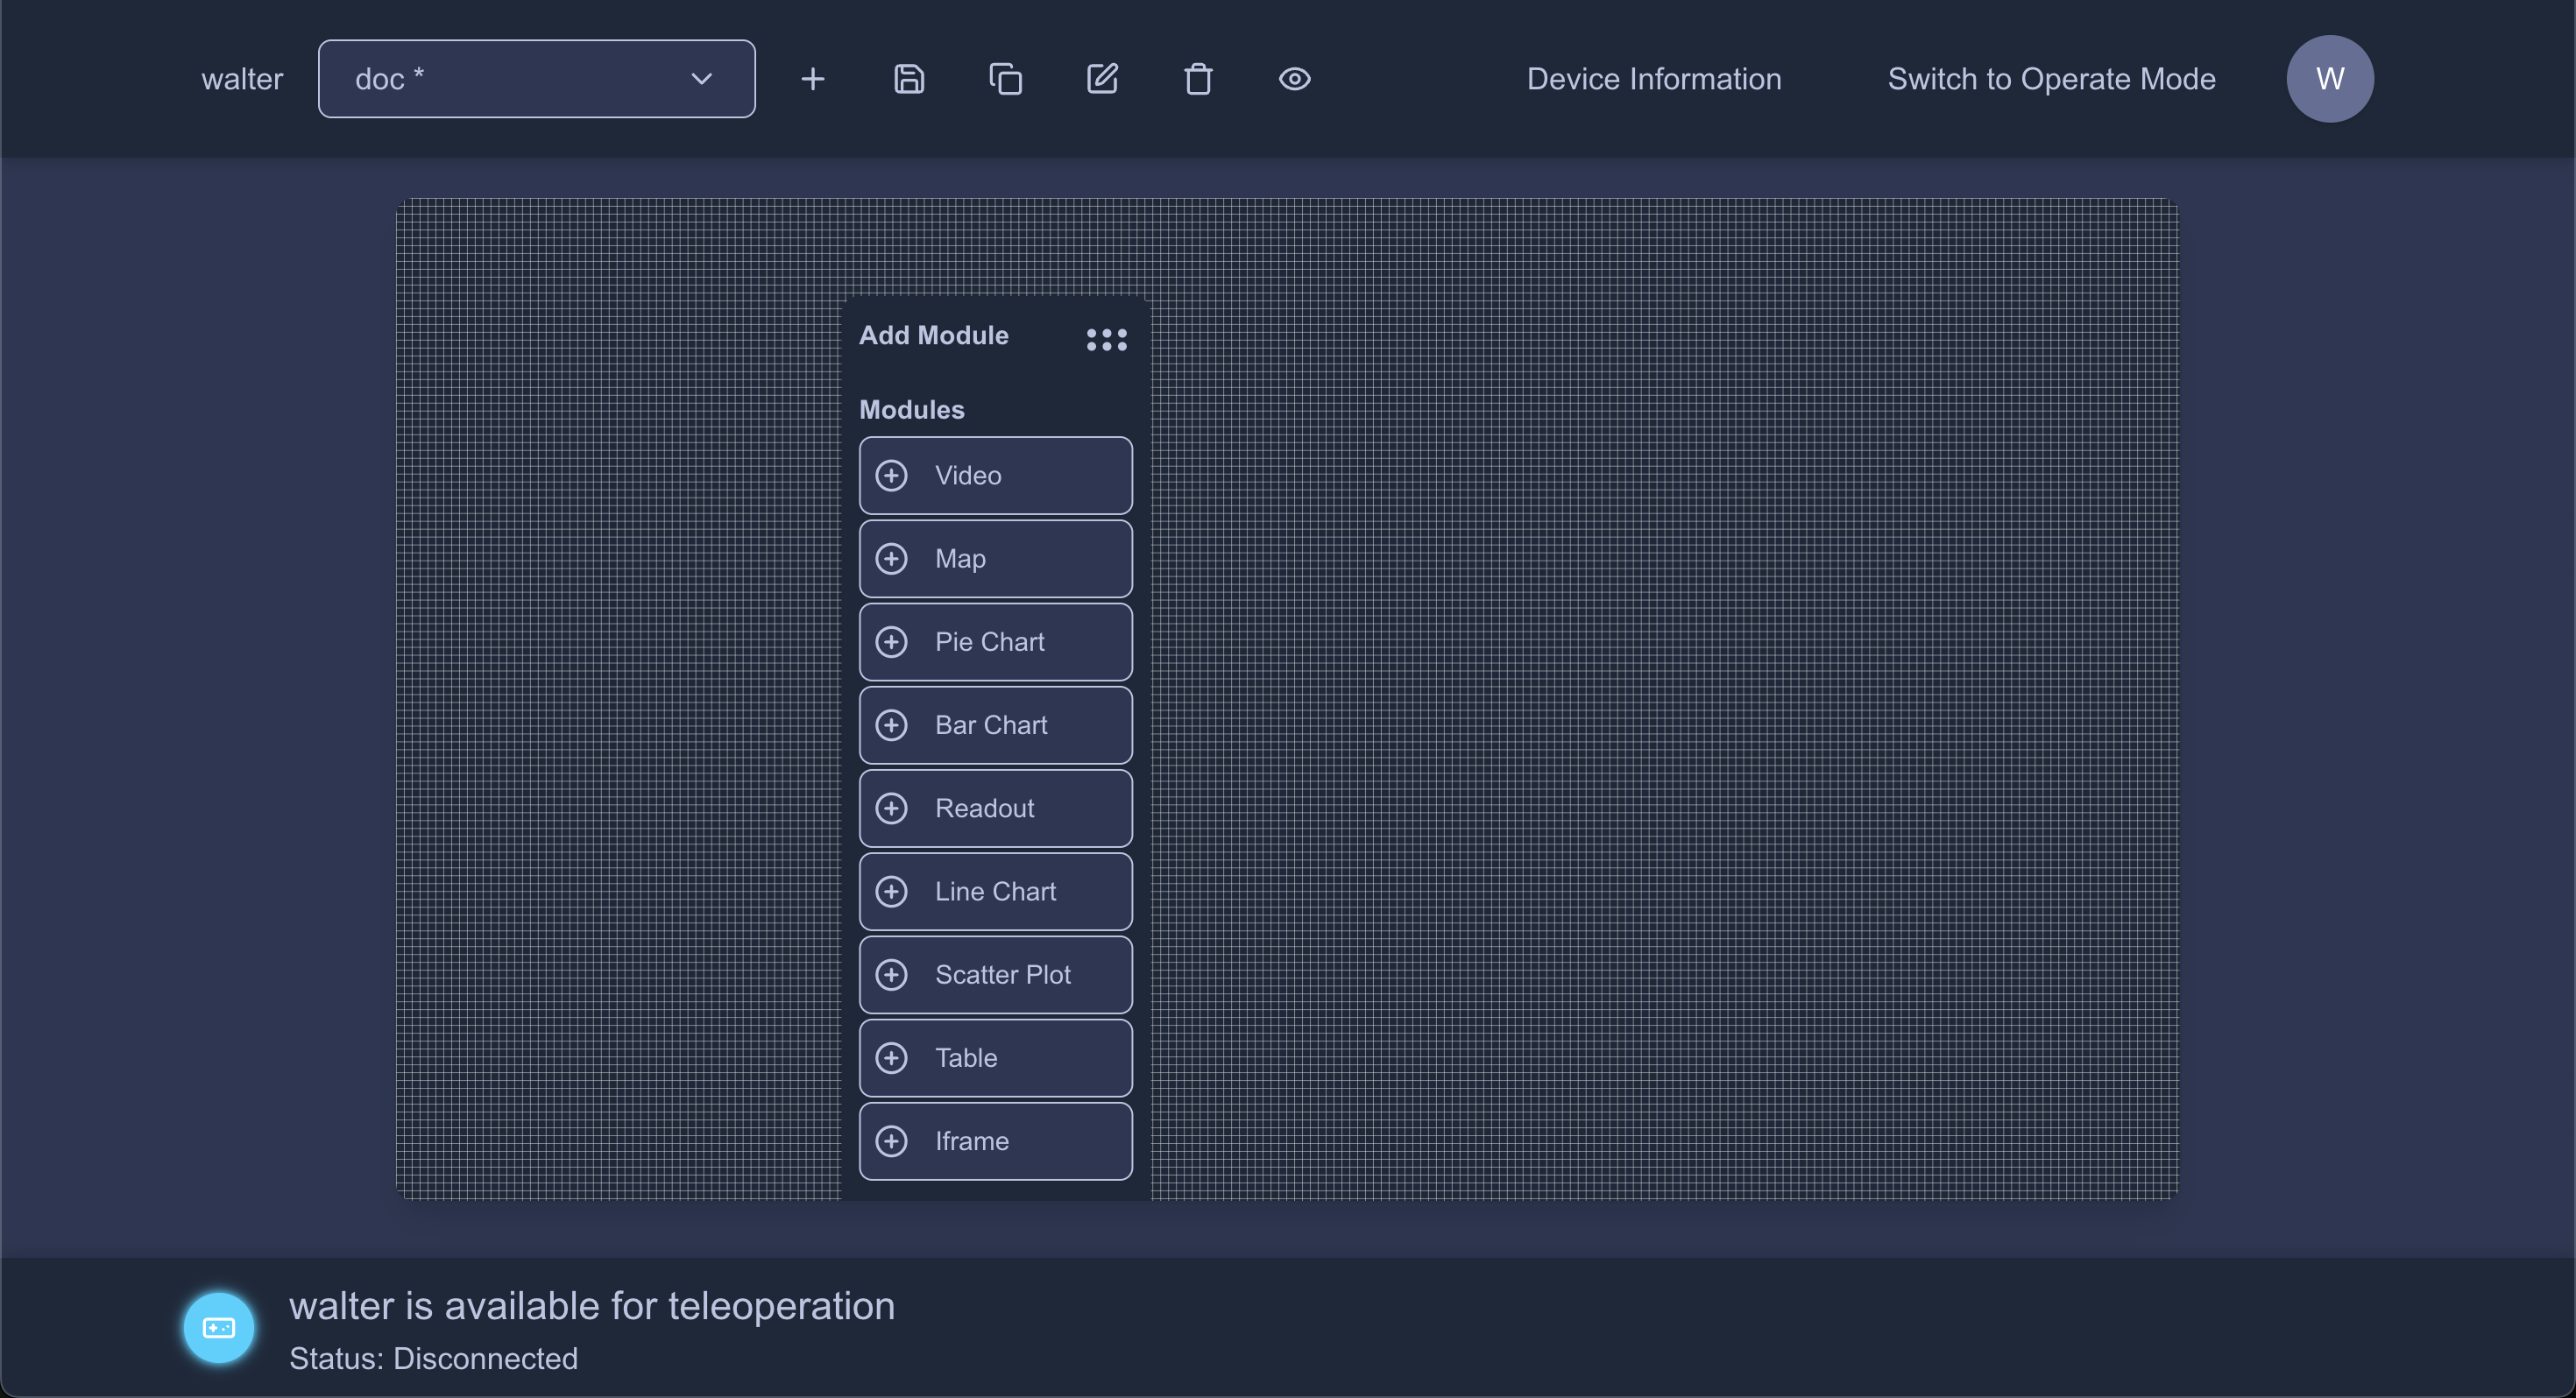
Editing a teleoperation view.
There are two types of modules you can add to a teleoperation interface: displays and controls.
Displays
Displays subscribe to the designated stream and show data from the robot in the Formant UI.
The following displays are available:
| Display | Description | Valid source streams |
|---|---|---|
| Background | The background of the edit interface is a video display. Click anywhere on the grid to edit the background. | Video/image |
| Video | Video/image stream display. Can set up to 10x digital zoom. | Video/image |
| Map | Display device location on a map. | Location |
| Pie chart | Pie chart display of multiple numeric values. Can accept a real-time JSON string of format | Numeric, JSON string |
| Bar chart | Bar chart display of numeric values. Can accept a real-time JSON string of format | Numeric, JSON string |
| Readout | Simple numeric or text indicator. | Numeric, text |
| Line chart | Plot numeric data over time. | Numeric |
| Scatter plot | Plot numeric data over time. | Numeric |
| Table | Table display of numeric and/or text data. | Numeric, text |
| Iframe | Embedded iframe from external source. | Iframe element |
Controls
Controls publish data to the designated stream and send data from the Formant UI to the robot.
The following controls are available:
| Control | Description | Valid source streams |
|---|---|---|
| Joystick | Publishes Multiple joystick controls can be mapped to the same | Twist |
| Button | Publishes Default value is | Boolean to device |
| Latching button | Publishes Default value is | Boolean to device |
| Slider | Publishes numeric data to the designated stream. | Numeric |
| Text input | Write text and hit Enter to send text to the designated stream. The text will be published and the control will be cleared. | Text |
| Label | Purely cosmetic for teleoperation interface. | N/A |
| Terminal | Opens a terminal session to your device. See Terminal module. | N/A |
Click the Save icon to apply your changes.
You won't see data in your modules until you start a teleoperation session.
Step 3: Teleoperate your device
In the lower-left corner, you'll see the teleoperation session status for your device:

Teleoperation session status.
Click the gamepad icon to start a teleoperation session:
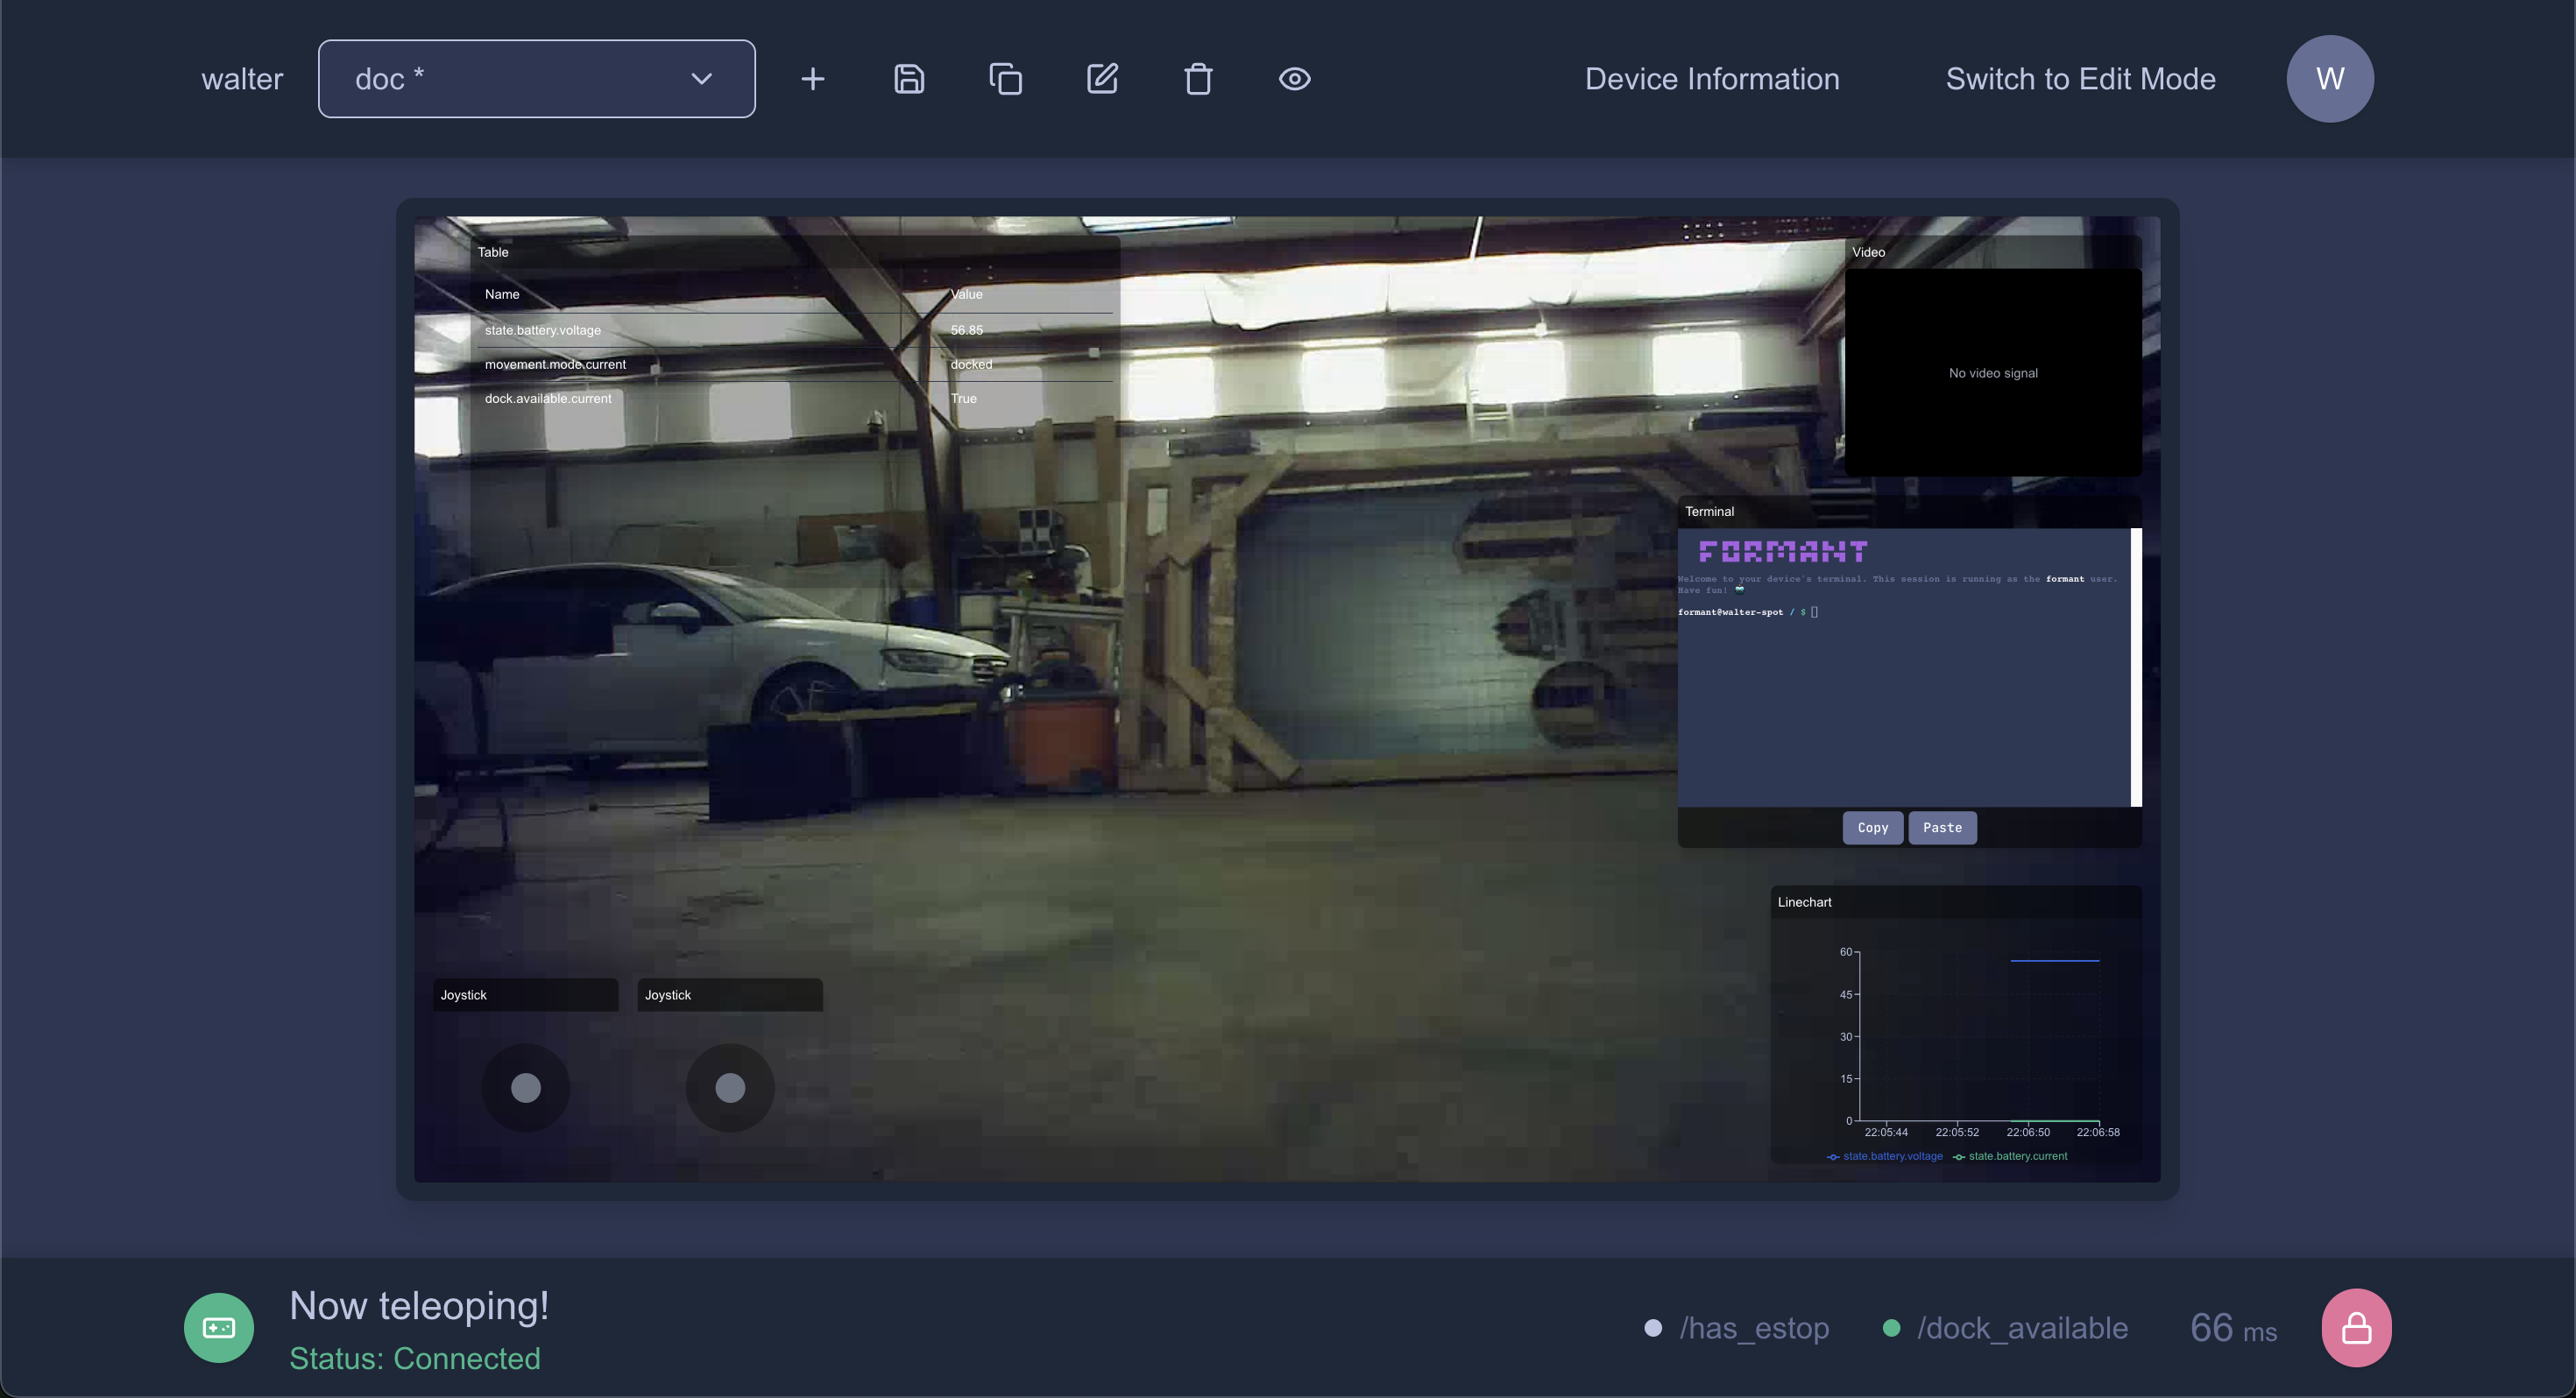
Active teleoperation session.
To use controls, you'll first have to disable the lock button in the lower-right corner.
In the same corner, you'll see the ping to your device, as well as the status of boolean streams from the device.
Swap primary videoYou can double-click any video display to swap it with the background video, making it the primary view.
See also
If you notice an issue with this page or need help, please reach out to us! Use the 'Did this page help you?' buttons below, or get in contact with our Customer Success team via the Intercom messenger in the bottom-right corner of this page, or at [email protected].
Updated 9 months ago