
Add an adapter
An adapter is used to facilitate the connection and interaction between your device or system and the Formant platform. It allows seamless data transfer and control, enhancing the functionality and capabilities of your devices within the Formant ecosystem.
You can create an adapter by making a zipped folder with a program and an executable command which runs that program upon unzipping. The Formant agent will unzip the folder to /var/lib/formant/adapters, and then run the command you specify. The Formant agent will run the execution command on startup and re-running the command if the process fails. Logs or any output of the process will be visible in the Formant agent logs.
This guide will teach you how to add an adapter to your Formant organization and apply it to your device.
Step 1: Create an adapter
An adapter must be a zipped folder containing an executable command that runs the contents upon unzipping. For example, you can zip a Python file and a bash script which runs that Python file.
Ensure that the Formant agent has permission to execute the script, using
chmod +x.
Step 2: Add the adapter to Formant
- In Formant, in the upper-left corner, open the menu and click Settings.
- Go to Adapters and click Add Adapter.
- Configure your adapter as follows:
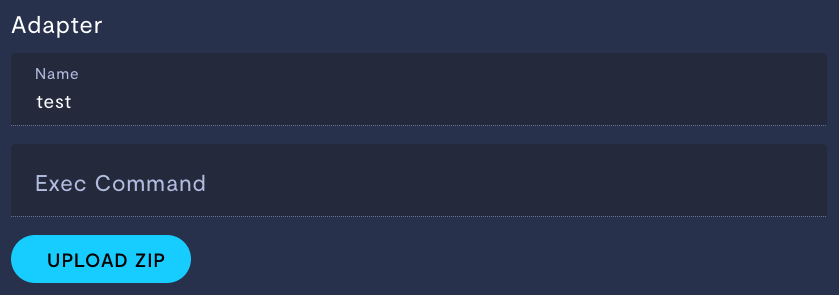
| Property | Usage |
|---|---|
| Name | Give your adapter a name. |
| Exec command | Enter the execution command to start this adapter (typically ./start.sh). |
- Click Upload Zip and upload the zip file containing your adapter to your Formant organization.
Step 3: Apply the adapter to your device
- In the Settings window, go to Devices and select the device to which you want to apply the adapter.
- Scroll down to Adapter Configuration and click Add Adapter.
- You'll see all adapters in your organization in the dropdown. Select the one you want to apply to this device, and then click the check icon.
Step 4 (optional): Configure your adapter
If your adapter has configurable properties, you will be able to edit them after it has been added to the device.
- Immediately after Step 3, click the gear icon next to the adapter you just applied to your device.
- You will be able to configure any fields which are listed in the
config_schema.jsonfile in the zipped folder which you uploaded in Step 2.
If you notice an issue with this page or need help, please reach out to us! Use the 'Did this page help you?' buttons below, or get in contact with our Customer Success team via the Intercom messenger in the bottom-right corner of this page, or at [email protected].
Updated 8 months ago