Create a user
This guide will teach you how to create a user in your Formant organization and give that user a role.
Step 1: Create a user
- In Formant, in the upper-left corner, open the menu and click Settings.
- Click Users, and then in the upper-right corner, click Add User.
- Enter the email address of the person you want to add as a user of your Formant organization, and then click Continue.
Step 2: Configure a user
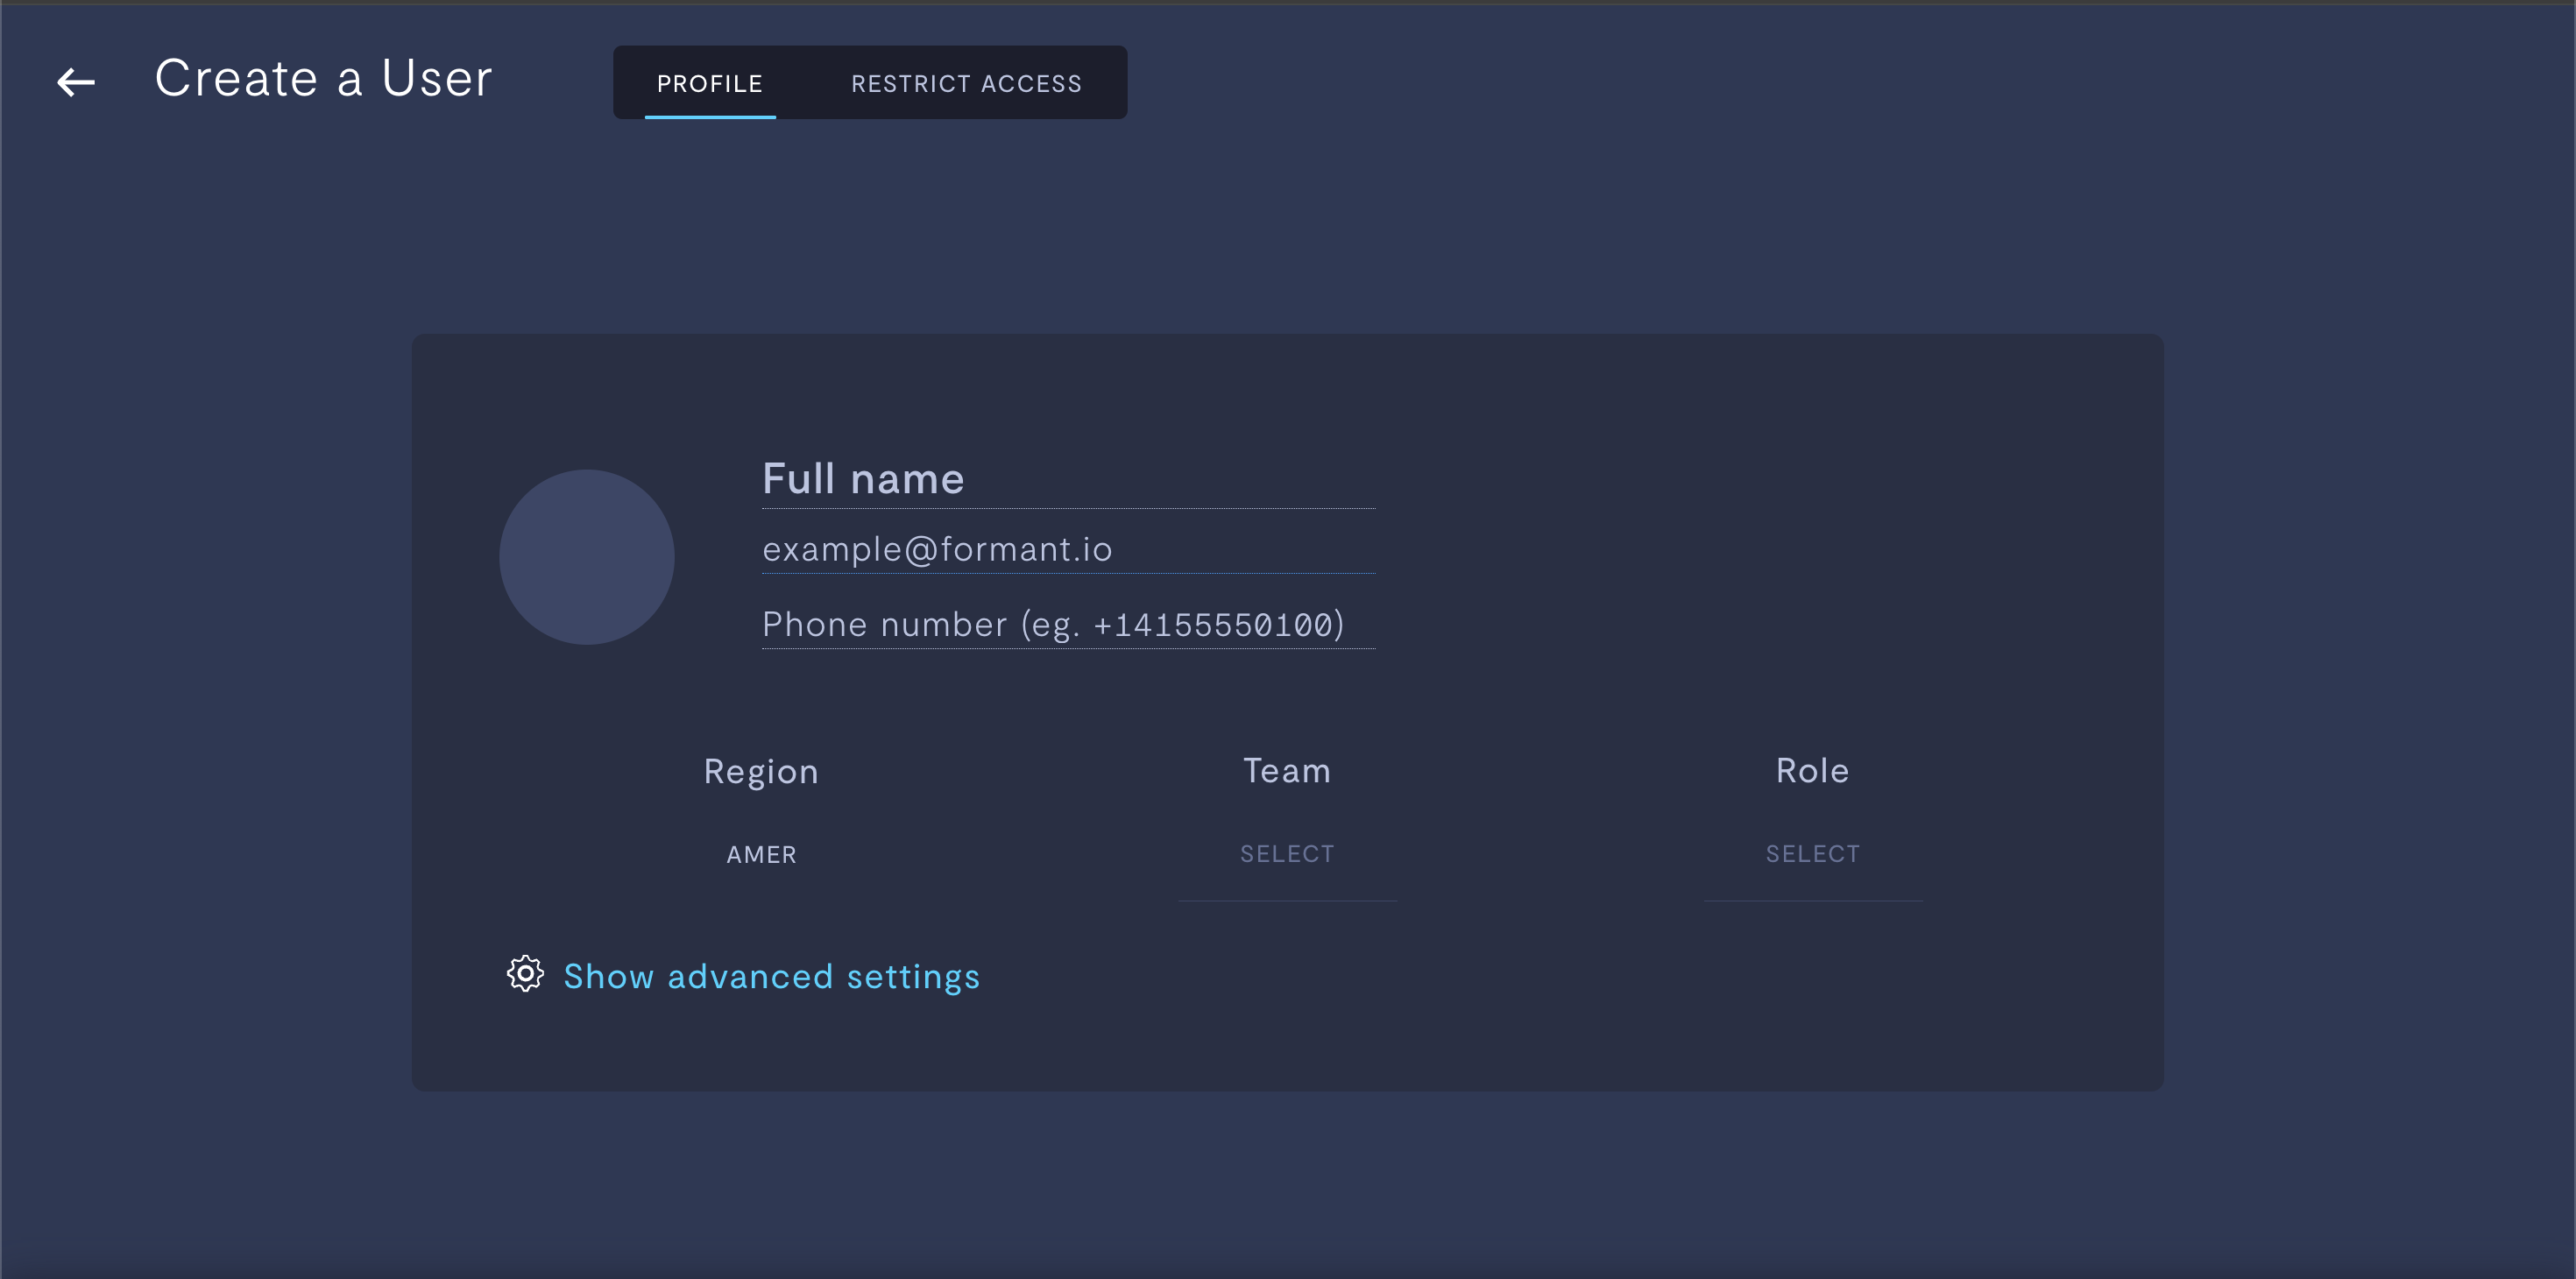
- Enter your user's information:

Creating a user.
Property | Usage |
|---|---|
Full name | Name of the user as it will appear in Formant. |
Email address | Email address of the user. This email address will receive the signup email and will be used to sign into your organization. |
Phone number | Phone number of the user (e.g. |
Region | Region in which the user is located.
With multi-region user management, this user's Personally Identifiable Information (PII) can be stored within their region, which can help with compliance with the European Union's General Data Protection Regulations (GDPR). For more information, see Protect your users' Personally Identifiable Information (PII). |
Team | Assign this user to a team. This will assign the role and access levels associated with this user. Either a team or a role must be specified. |
Role | Assign this user a role. This will assign the access levels associated with this role. Either a team or a role must be specified. |
Tags | Click Show advanced settings to reveal this setting. Configure access levels for this user by applying tags. See the following comment for more context. For more information on tags and user access levels, see Configure access levels. |
Access levels: best practicesYou can control which entities in your Formant organization this user will have access to using tags. These tags can either be applied to the user, the role, or the team.
When deciding where to configure your access levels, consider the size and potential of expansion for your Formant organization. Within a small organization of only a few users, it may make sense to configure access levels for each individual user entity. In large organizations with various teams, or organizations which may expand over time, managing tags for individual users can quickly become cumbersome, and so it may be preferable to configure tags on the role or team entity, which will keep access levels and permissions consistent and predictable across many users.
- When you've configured your user, click Save. This will send the signup email to the email address you specified. The email will come from
[email protected]with the subject "Welcome to Formant".
Delete a user
- Navigate to Settings >> Users and scroll to the user you want to delete.
- Click the trash can icon next to the user.
If the trash can icon is not visible, try widening your browser.
Once a user is deleted, they will no longer be able to log into Formant and their associated metadata (tags, roles, etc.) will be deleted.
If you notice an issue with this page or need help, please reach out to us! Use the 'Did this page help you?' buttons below, or get in contact with our Customer Success team via the Intercom messenger in the bottom-right corner of this page, or at [email protected].
Updated 3 months ago
