
Add buttons to your teleoperation interface
A new teleoperation experience is here.We've released a new teleoperation experience. See the Getting Started guide for documentation on creating an observability dashboard.
The documents in this section refer to the legacy teleoperation experience.
This guide will teach you how to overlay your teleoperation interface with interactive buttons.
Step 1: Navigate to device teleoperation settings
- In Formant, in the upper-left corner, open the menu and click Settings.
- Click Devices, and then click on the device you want to configure.
- Click on the Teleoperation tab to open the teleoperation configuration page.
Step 2: Configure a button
ROS
Formant supports the std_msgs/Bool data type.
- In the teleoperation configuration page, scroll down to Buttons and click the plus (+) icon.
- Click Add ROS Topic.
- Configure your button as follows:
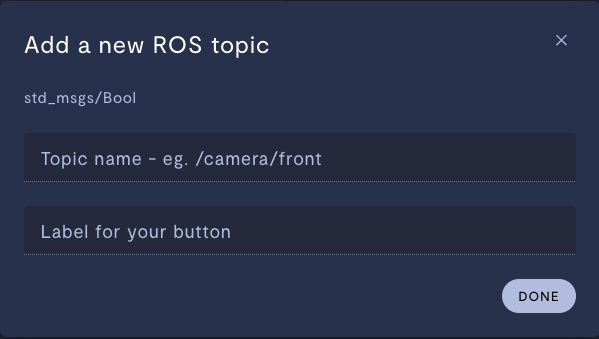
| Property | Usage |
|---|---|
Topic name - e.g. /camera/front | Enter the topic to which this button should publish true when clicked. |
| Label for your button | This is the text that will appear on the button during teleoperation. |
- Click Done.
- (Optional) If you want to add an additional status topic:
- Click on the button you just created.
- Add the status topic to Status topic name - e.g.
/boolean/topic.
API
- In the teleoperation configuration page, scroll down to Buttons and click the plus (+) icon.
- Click Add from API.
- Enter the name of the function which handles button input. Formant will send a value of
trueto this function when the button is clicked. - Click Done, and then click Save to confirm your teleoperation settings.
For an example of handling button clicks during teleoperation via the Formant Agent SDK, see GitHub: teleop.py.
Step 3: Verify your work in teleoperation mode
- In your device view, in the upper-right corner, click the three dots >> Teleop, or enter Shift + T.
- If you have Control safety switch enabled, click the Unlock button to reveal the teleoperation controls.
- Verify that your buttons are showing up as expected:
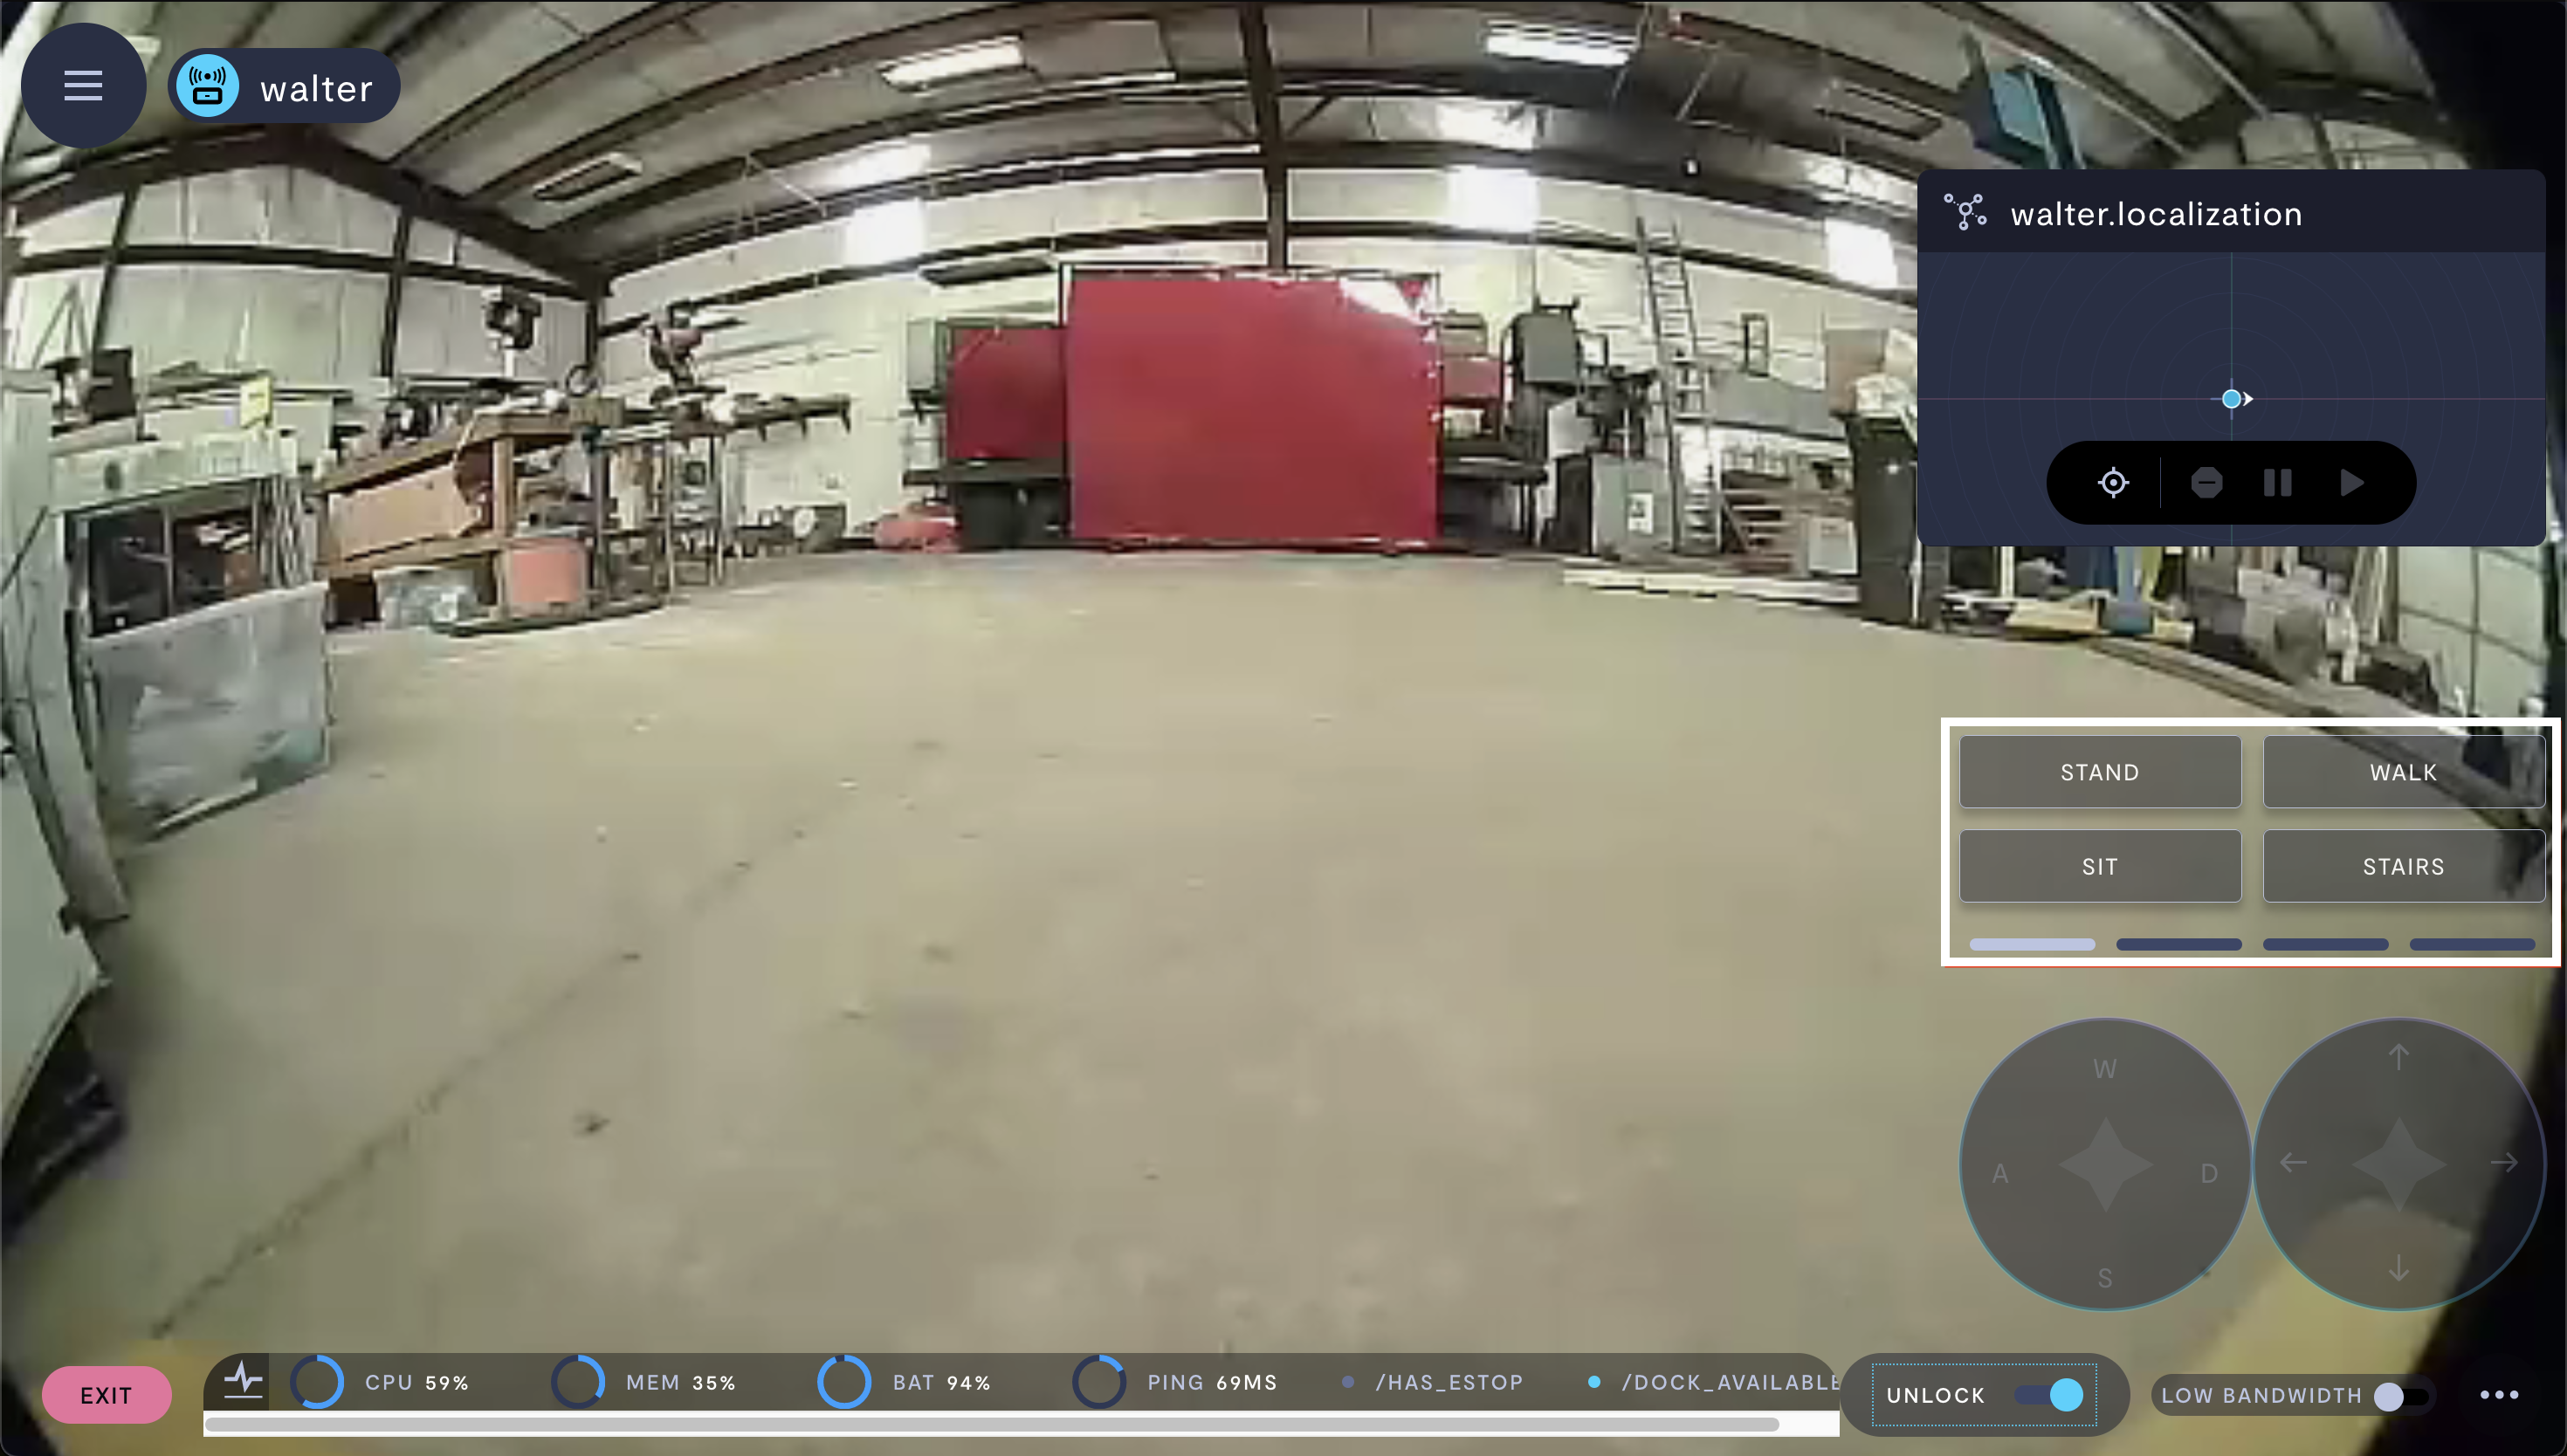
Buttons in the teleoperation view.
If you notice an issue with this page or need help, please reach out to us! Use the 'Did this page help you?' buttons below, or get in contact with our Customer Success team via the Intercom messenger in the bottom-right corner of this page, or at [email protected].
Updated 8 months ago
Did this page help you?